
Smart design is the difference between success and weeks of frustration. Many CRISPR experiments fail not because of bad science—but poor planning.
This guide walks you through every critical step in a knock-in workflow, from setting goals to validation.
Because when done right, a CRISPR knockin delivers edits that are not just precise—but stable, reproducible, and built to last.
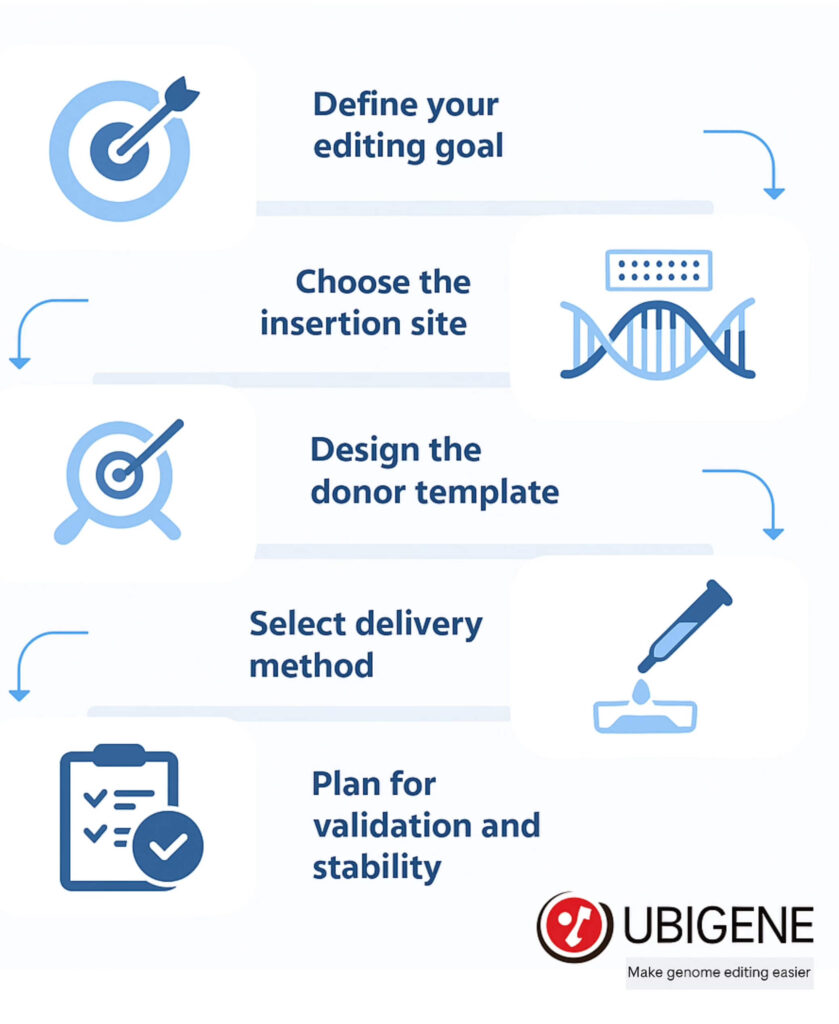
Step 1: Define Your Editing Goal
Before touching a pipette, get crystal clear on what your experiment needs to achieve.
CRISPR gene editing can deliver remarkable precision—but only if your experiment is designed with equal care. Are you modeling a disease mutation? Inserting a fluorescent reporter? Correcting a pathogenic variant? The nature of your goal will directly shape your knock-in strategy—from target site selection to donor design and validation methods.
Small edits like SNP insertions may only require ssODN donors, while large cassettes demand more complex templates and delivery strategies.
You’ll also need to define whether endogenous expression is critical, whether your insert needs to be conditional, and whether long-term expression is required for your assay timeline.
 Pro Tip: Write a one-sentence “mission statement” for your knock-in. If you can’t summarize the purpose clearly, your design will likely drift—and your experiment with it.
Step 2: Choose the Right Insertion Site
The genomic context of your insert matters—more than many realize.
Targeting the wrong site can lead to gene disruption, epigenetic silencing, or unpredictable expression. Always select insertion points within non-disruptive introns, untranslated regions (UTRs), or downstream of stop codons, depending on your goal.
Use genome browsers to identify safe harbor loci or validate target sites through conservation analysis. If endogenous regulation is important, insertions should occur within the native gene’s regulatory framework—not random intergenic regions.
Watch for nearby splice sites, enhancers, and CpG islands. Even small insertions in regulatory zones can alter gene behavior downstream.
 Pro Tip: If you’re tagging a protein, aim for N- or C-terminal fusion locations that preserve function. Use published literature or RNA-seq data to confirm transcript isoform relevance.
Step 3: Design the Donor Template Strategically
Your donor template is the heart of any knock-in experiment. A poor design here can undo everything—even with perfect guides and timing.
Start by selecting the right format:
- ssODNs for small edits (under 100 bp)
- Plasmids or linear dsDNA for larger cassettes
- AAVs if your insert is sensitive to degradation or delivery bottlenecks
Next, design your homology arms—typically 500–800 bp flanking the target site. Arms should match the exact genomic sequence, avoiding SNPs or repeats. Optimize GC content for cloning and avoid secondary structures.
Add silent mutations if needed to prevent re-cutting by Cas9 or to introduce screening markers. Also, make sure your donor doesn’t introduce unintended transcriptional or translational artifacts.
 Pro Tip: Simulate your insert’s mRNA and protein outcome in silico before finalizing. This avoids surprises during expression or phenotype validation.

Step 4: Select and Optimize Delivery Method
Even the best donor and guide design can fail if delivery is inefficient or toxic to cells.
Your delivery method should match both your insert size and your cell line’s tolerance. For adherent cell lines like HEK293 or HeLa, lipofection works well for plasmids and RNPs. For harder-to-transfect cells—especially primary or suspension cells—electroporation or nucleofection may be required.
Some applications benefit from viral delivery, such as AAV, especially when large inserts or hard-to-deliver payloads are involved. But watch for immune responses, off-target integration, and cloning limits.
No matter the method, optimize dosage and timing. Excess donor DNA can trigger toxicity or random integration, while low concentrations lead to poor HDR.
 Pro Tip: Run a pilot test with fluorescent reporters to determine your cell line’s transfection efficiency before committing to a full knock-in.
Step 5: Plan for Validation and Long-Term Stability
Getting the edit is only half the job—proving it’s correct, functional, and durable is where real value lies.
Start with junction PCR and Sanger sequencing to verify correct insertion. Then, move to Western blotting, fluorescence microscopy, or reporter assays to confirm protein-level expression and cellular localization.
Don’t stop there. Even a perfect edit can fail if it’s not heritable or becomes silenced over time. Track your edited cells over multiple passages and assay for consistency.
Include off-target checks if your application is sensitive (e.g., therapeutic modeling). Use clonal selection to isolate stable lines with clean, on-target integration.
 Pro Tip: Design validation in tiers—start cheap and fast, then move to in-depth only for promising clones. This keeps costs down while protecting quality.
How Ubigene Supports Precision Knock-In Projects
Even the most experienced teams can run into challenges when it comes to achieving high-efficiency, stable knock-ins—especially in difficult cell lines or complex designs.
That’s where Ubigene comes in.
Their proprietary EZ-HRex™ platform enhances homologous recombination while minimizing random integration, thanks to optimized donor design, cell cycle synchronization, and inhibition of NHEJ. Verified knock-in efficiencies reach up to 84% in commonly used and hard-to-edit lines alike.
But Ubigene doesn’t stop at tech. They offer end-to-end consulting, helping researchers choose insertion sites, design donor constructs, and select the right delivery approach. Each project includes:
- Genomic PCR verification
- Clonal screening
- Long-term stability tracking
This ensures your CRISPR knock-in isn’t just “present”—it’s functional, reproducible, and ready for real-world use.
Whether you’re creating disease models, dual-tagged reporters, or large cassette insertions, Ubigene brings the tools and expertise to get it right the first time.
Conclusion: Don’t Just Edit—Design with Confidence
CRISPR knock-in success doesn’t start at the bench—it starts with smart design. Every decision you make upfront—target site, donor type, delivery method—shapes your final outcome.
In an era where precision and reproducibility are essential, guessing your way through won’t cut it. Scientists who take the time to map out their strategy see higher efficiencies, cleaner edits, and more stable models.
So before you launch your next knock-in project, ask: Are you just editing—or are you engineering with purpose?
 With Ubigene’s custom solutions and EZ-HRex™ platform, you’re not alone in that process.
From idea to validation, you’ll have a partner focused on helping you design knock-ins that don’t just work—but last.