
Instagram is a highly visual platform where first impressions matter. A well-organized feed with properly resized images immediately draws attention, while distorted or cropped visuals can make a profile look unprofessional. Whether you are a content creator, brand, or casual user, understanding image resizing is essential for maintaining visual appeal.
Resizing images incorrectly can lead to pixelation, awkward cropping, and loss of important details. To keep your feed looking sharp and polished, it is crucial to avoid common resizing mistakes. With the right approach, along with tools like an AI video editor, you can effortlessly optimize your content for Instagram.
If you have ever uploaded a post only to realize the image does not fit well, you are not alone. Many users struggle with formatting issues, but the good news is that solutions exist.
-
Using the Wrong Aspect Ratio
Each type of Instagram post has specific aspect ratios, and ignoring them can lead to automatic cropping or awkward framing. The most common formats are:
-
Square posts: 1:1
-
Portrait posts: 4:5
-
Landscape posts: 1.91:1
-
Stories and reels: 9:16
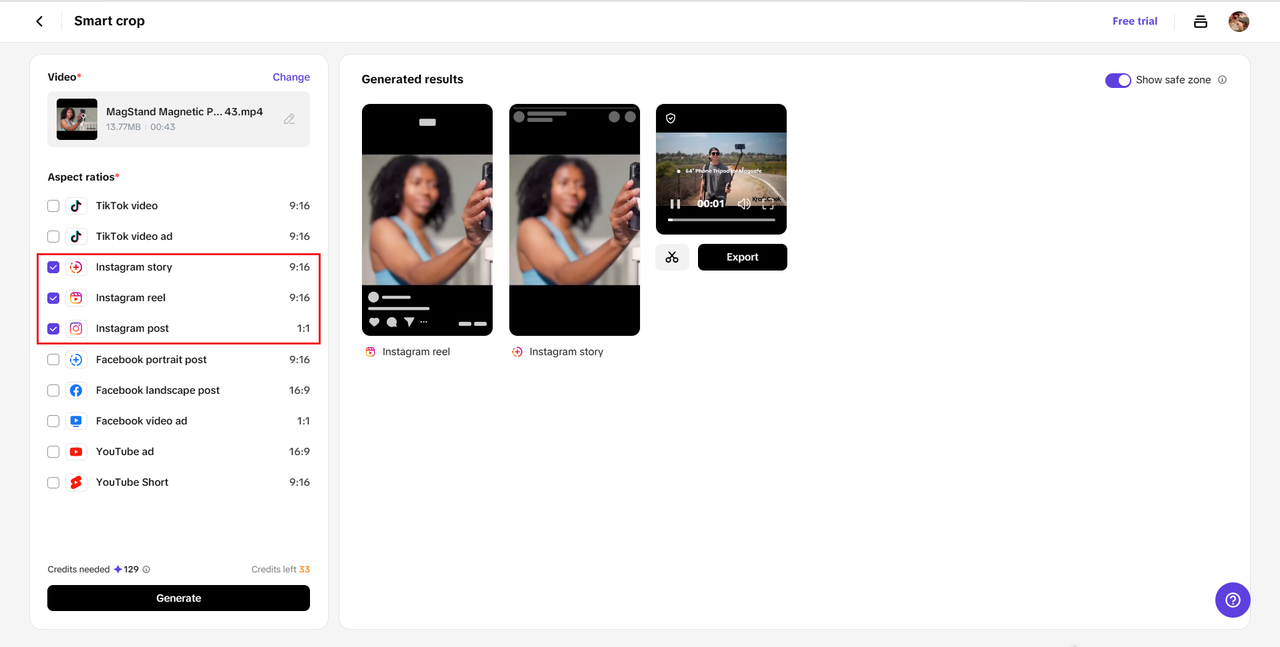
If you upload an image without adjusting the aspect ratio, Instagram may crop out important parts of your photo. This can be frustrating, especially if key elements like faces or text get cut off. By learning about the right dimensions and using an effective Instagram resize tool, you can avoid these common mistakes and ensure your content looks flawless. Always check the recommended dimensions before posting to ensure your image displays correctly.
-
Uploading Low-Resolution Images
Instagram applies compression to all uploaded images, which means that starting with a high-resolution file is essential. If your image is already low quality before uploading, Instagram’s compression will make it look even worse.
To maintain sharpness, always export images at the highest possible resolution. A good rule of thumb is to keep your image width at 1080 pixels. This ensures that even after compression, your photos remain clear and visually appealing.
-
Overlooking Safe Zones for Text and Elements
If you add text, stickers, or graphic elements to your posts, their placement matters. Instagram’s interface has built-in overlays, especially on stories and reels, where UI elements like buttons and usernames can obstruct important content.
To prevent text from getting cut off or hidden, keep key design elements within the safe zones. This is particularly important for promotional posts, as text placement can impact readability and engagement.
-
Stretching Instead of Properly Resizing
One of the most common resizing mistakes is stretching an image to fit Instagram’s dimensions. This distorts the original proportions, making the image look unnatural.
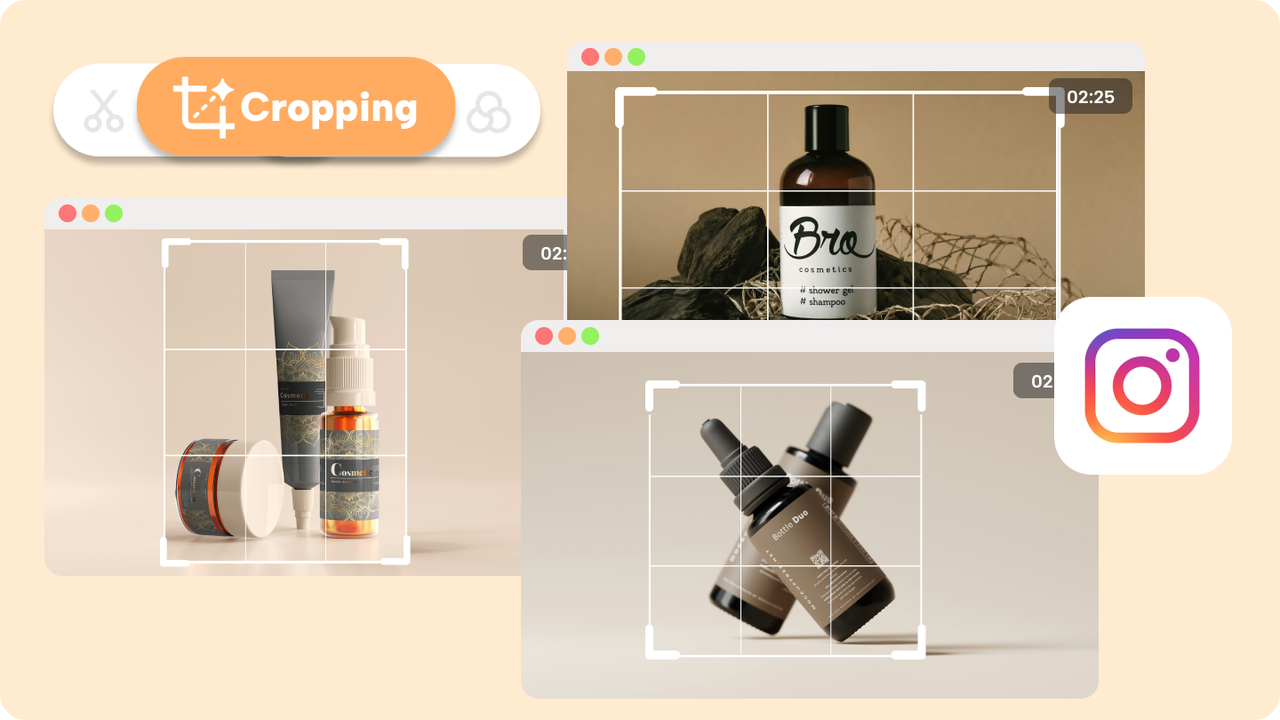
Instead of stretching, use proper resizing tools that maintain the aspect ratio. If necessary, crop strategically to adjust composition rather than forcing an image into an unnatural size. Tools that offer smart resizing options can help preserve the quality of your content without distortion.
-
Ignoring Instagram’s Compression System
Instagram compresses images to reduce file sizes, but this often results in a noticeable drop in quality. If you upload an image without considering this, you may end up with blurry or pixelated content.
To counter this, always save your images in high-quality formats and optimize them before uploading. Exporting images in sRGB color mode and avoiding unnecessary filters can also help maintain image clarity.
-
Using the Wrong File Format
Choosing the right file format plays a big role in how your images appear on Instagram. The two most common formats are:
-
JPEG: Best for photographs, as it maintains quality while keeping file sizes manageable.
-
PNG: Ideal for images with text, logos, or graphics that require a transparent background.
Using the wrong format can affect image clarity. For example, uploading a PNG photograph may result in unnecessary file size increases, while using JPEG for text-based graphics can cause blurring. Understanding when to use each format ensures your visuals remain crisp and professional.
-
Forgetting to Resize for Different Instagram Formats
Instagram offers multiple content formats, including feed posts, carousels, stories, and reels, each with its own recommended dimensions. If you use a single-size approach, your content may not appear properly across all formats.
For example, a landscape image that looks great in your feed might not fit well in a reel or story. Instead of resizing after uploading, prepare multiple versions of your content to match different formats. This ensures a consistent and polished look, regardless of where the post appears.
-
Not Previewing Before Posting
Many users upload images without previewing them first, only to realize later that something is off. This could be an incorrect crop, misplaced text, or an overall lack of balance in the composition.
To avoid surprises, always preview your content before posting. Some tools allow you to see how your images will appear on Instagram, ensuring that nothing looks out of place. Taking a few extra seconds to check can make a huge difference in how professional your posts appear.
Conclusion: Perfecting Instagram Image Resizing for a Flawless Feed
A well-resized image can make all the difference in maintaining a visually appealing Instagram profile. Avoiding common mistakes like incorrect aspect ratios, low resolution, and improper formatting keeps your content looking professional and engaging. Using the right tools and techniques ensures that your images are always displayed at their best. Whether you are resizing for stories, posts, or reels, following proper guidelines helps maintain clarity and impact. With a little attention to detail, you can create a seamless, high-quality feed that captures attention and enhances your overall presence on Instagram.